
The trick is to pre-cut and score all your bits for the card, then its super easy to put together.


Follow along with my instructions then make sure you follow the hop along and see what other amazing projects my friends from around the world have created to show you as well.

I started this card with a piece of Melon Mambo A4 cardstock and I found it was so much easier to score the card first, then cut later. Once all the pieces are cut, we can assmble them quite quickly.
With your shorter edge to the top of your paper trimmer, score the full length of the cardstock at 4cm and 7.5 cm. Cut a piece off from the other side of the cardstock at 2.5 cm from the end.
Now, turn the cardstock so the longest side is along the top of your paper trimmer and cut at 14.9 cm.

So your sheet of A4 cardstock should look like this.
From the 2.5cm strip, cut another piece 4.5cm in length.
You will also need a piece of Basic White cardstock cut 2.5 cm x 11 cm.
From your DSP (Designer Series Paper) cut 1 piece - 10.2 cm x 14 cm
From a contrasting DSP cut 1 piece - 14 cm x 3.5 cm and
1 piece -4.5 cm x 3.5 cm
Cut another scrap from any paper 4.8 cm x 1.5 cm
You will also need a circle - I used Basic White cardstock and cut it with the 2 3/8" circle punch

I selected another piece of the DSP from the Delightful Floral DSP pack (this is an online exclusive item and is not seen in the catalogues - you can only purchase it online through my website, and its available while stocks last. I have a link below for you if you would like to purchase this very pretty paper). I have fussy cut some on the larger flowers to use on this card.

I stamped a sentiment on the white circle first using the Perennial Postage Stamp set (this is due to be released in January in our mini catalogue so keep your eye out for that one - it has a lot of everyday sentiments and you will use it over and over again). I used the multipurpose glue to adhere some of the DSP to the remaining white card, then turned it over and cut along the edge of the circle with my paper snips. You could use a decorative stamp here if you wanted to or you could leave just the sentiment.

I have attached the two smaller stips of DSP to each edge of the cardstock. Make sure you have the folds of the parger piece of cardstock to the right, and on the smaller piece of cardstock the folds will be on the left.

Here you can see I have attached the larger piece of DSP to the larger piece of cardstock and I have glued the two pieces together on the right hand side only. I've added one of the fussy cut flowers and added the white cardstock to the front as well. I cut the triangle from the end of the white cardstock with paper snips.
Now the tricky bit starts.

Holding the smaller piece of melon mambo cardstock, fold the bottom right hand corner towards the top and line up the two edges. Place some glue on the triangle piece only and stick it to the back of the smaller piece of cardstock (see photo below).

This small piece should be just inside the 7.5cm fold line and when folded down should sit just above the base line. Trim the bottom section with your paper snips if you need to.

When you fold it out straight, it should line up just below the edge of the top side.

With this piece folded down, attach the small scrap piece (you could use a piece of window sheet if you wanted to), glue down just the tip of the scrap piece to the folding piece. This is what creates the pop up section or "wiper" part of your card.

Attach the fussy cut flower that will pop up when you open the card.

Check to make sure when the wiper mechanism is closed you have room for the pop up towards the larger folded side, so it doesn't fold and get stuck when you close the card.

Now, add some more glue to the smaller folded section and stick it to the front of the larger piece of cardstock.

This is what the left side of the card will now look like.

I closed all of the folds so I could work out where to attach the larger fussy cut flowers on the background and the used dimensionals to attached the sentiment. Be careful to only please the dimensionals where they will not overlap and stick to the back panel.

Add some jewels to the card to give it that extra bit of sparkle and you are done.

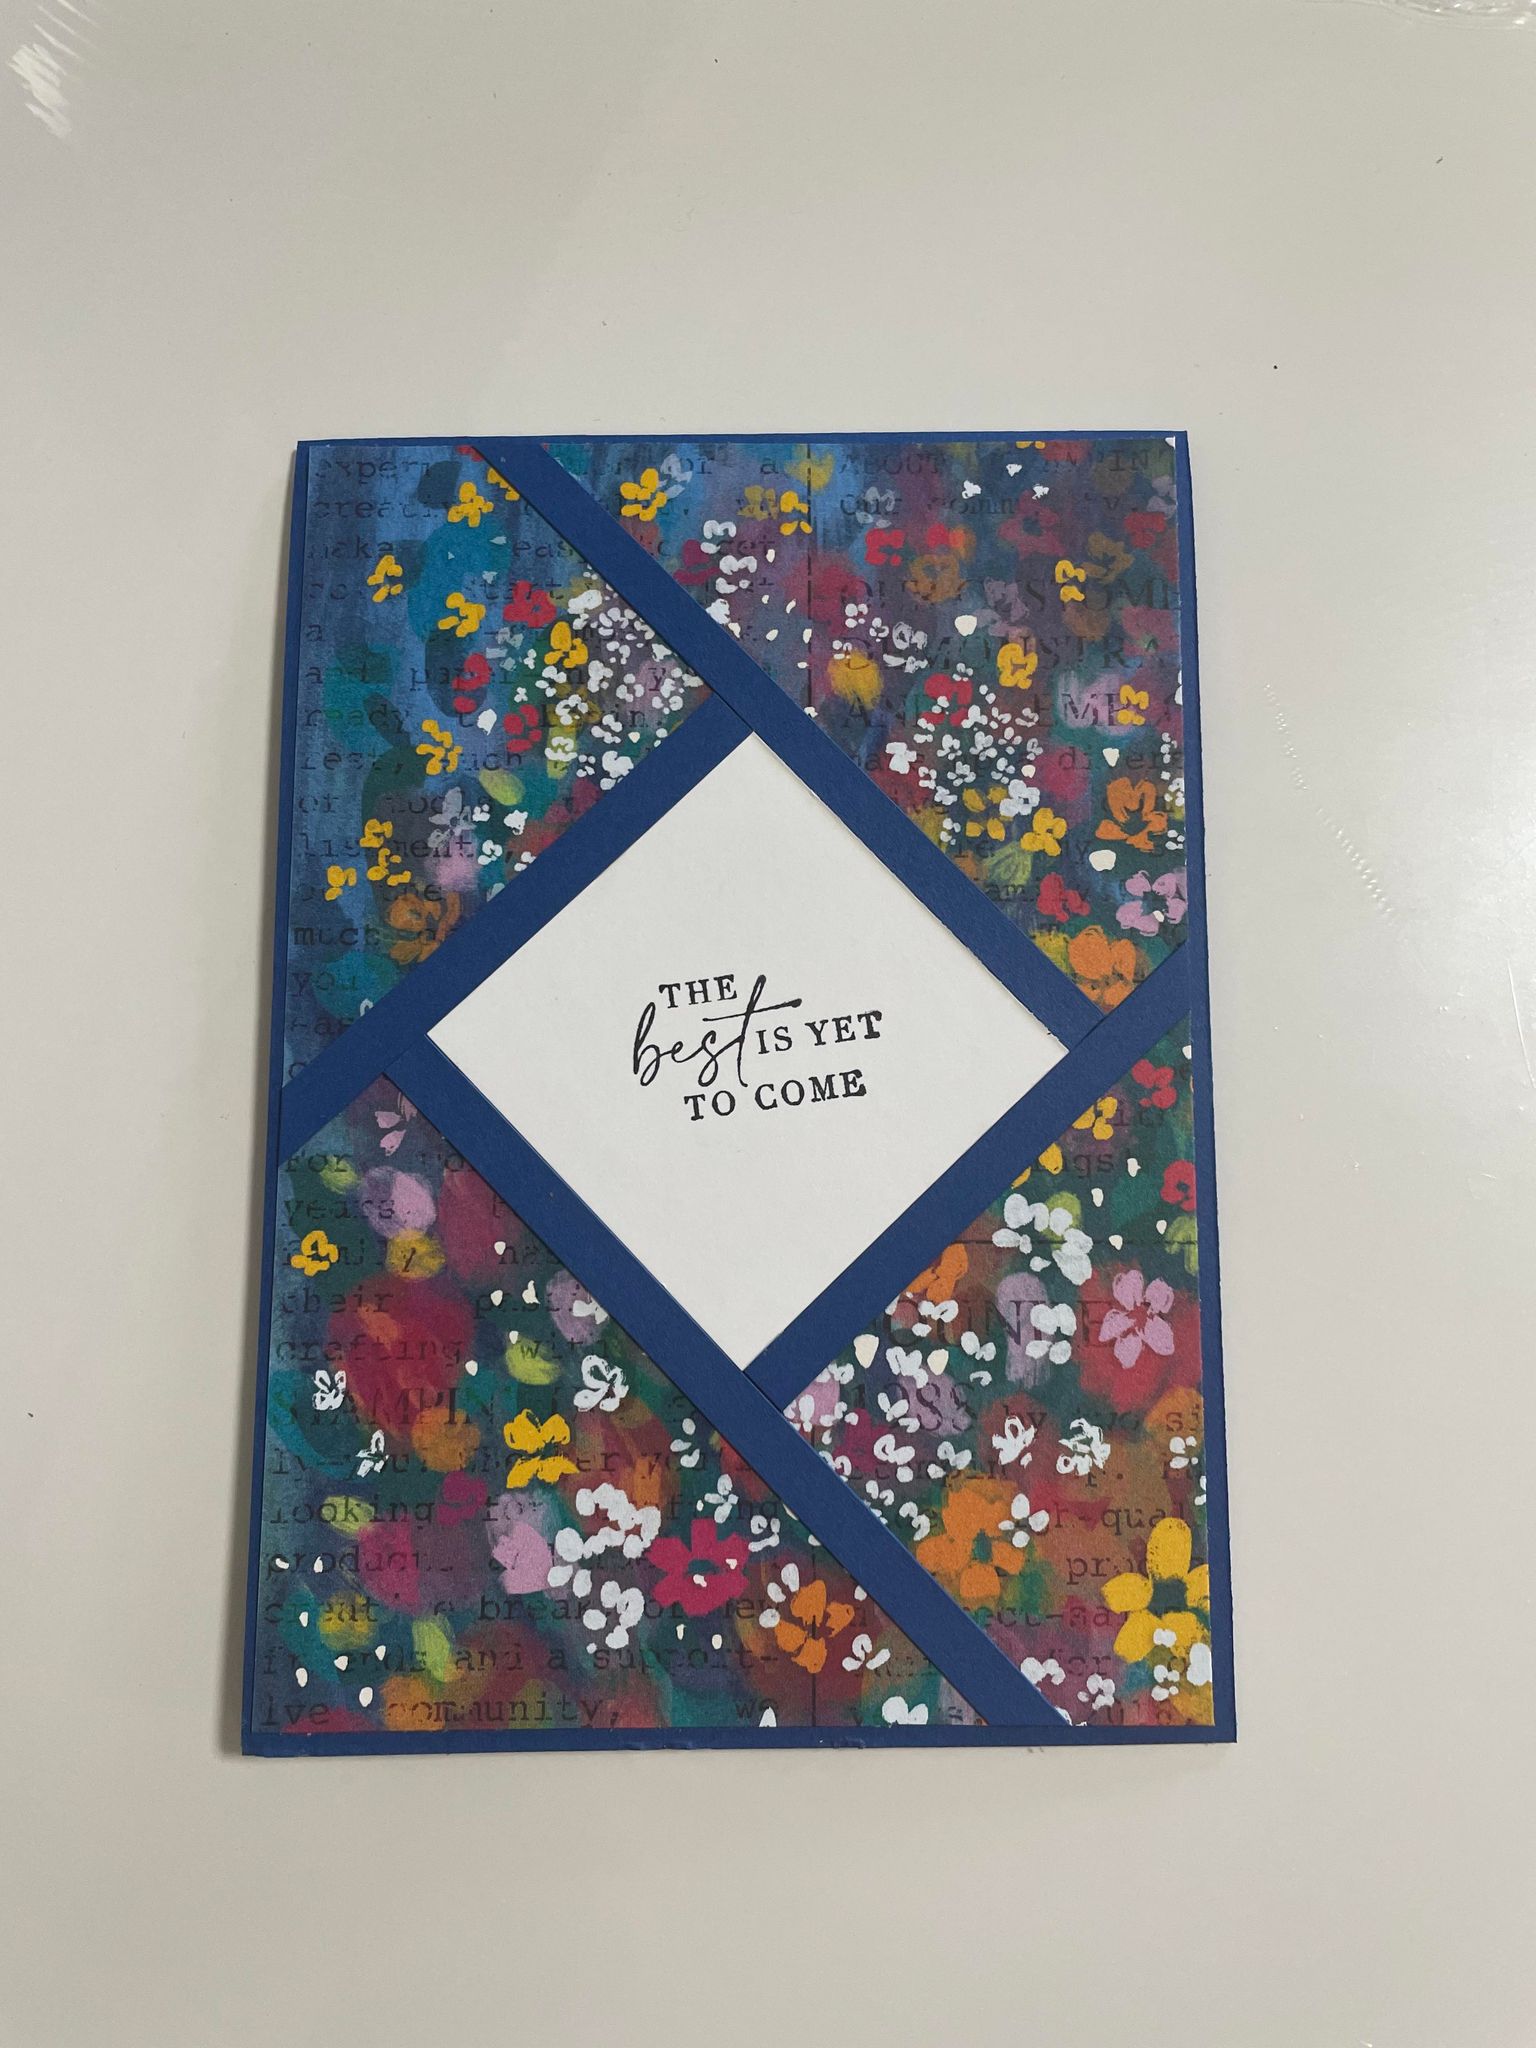
Card closed

Card open (see the little purple flower has popped our from behind now).

Oh, and I forgot to take a photo, but I just attached a piece or Basic White cardstock to the back so you can write your message for the lucky person who will get this in the mail.
All be creating this card again live on Facebook later today, so make sure you pop over and follow along there to see it all happen in real time.
Hop along to the next our next stamper and check out what they have created.


 Designer Series Paper")


 Circle Punch")


If you live in Australia and do not have a Stampin’ Up! demonstrator, please contact me at
creativejunction@bigpond.com
I would love to help you with your creative discoveries.
Reach out if you would like a copy of our new catalogue - products are available now while stocks last. We also have two new catalogues coming out in the next few weeks. If you would love a copy of these as well, please let me know so I can arrange to get some into the mail for you. You will WANT these ones in your hot little hands.
Cheers
Deb


 Designer Series Paper")
")


